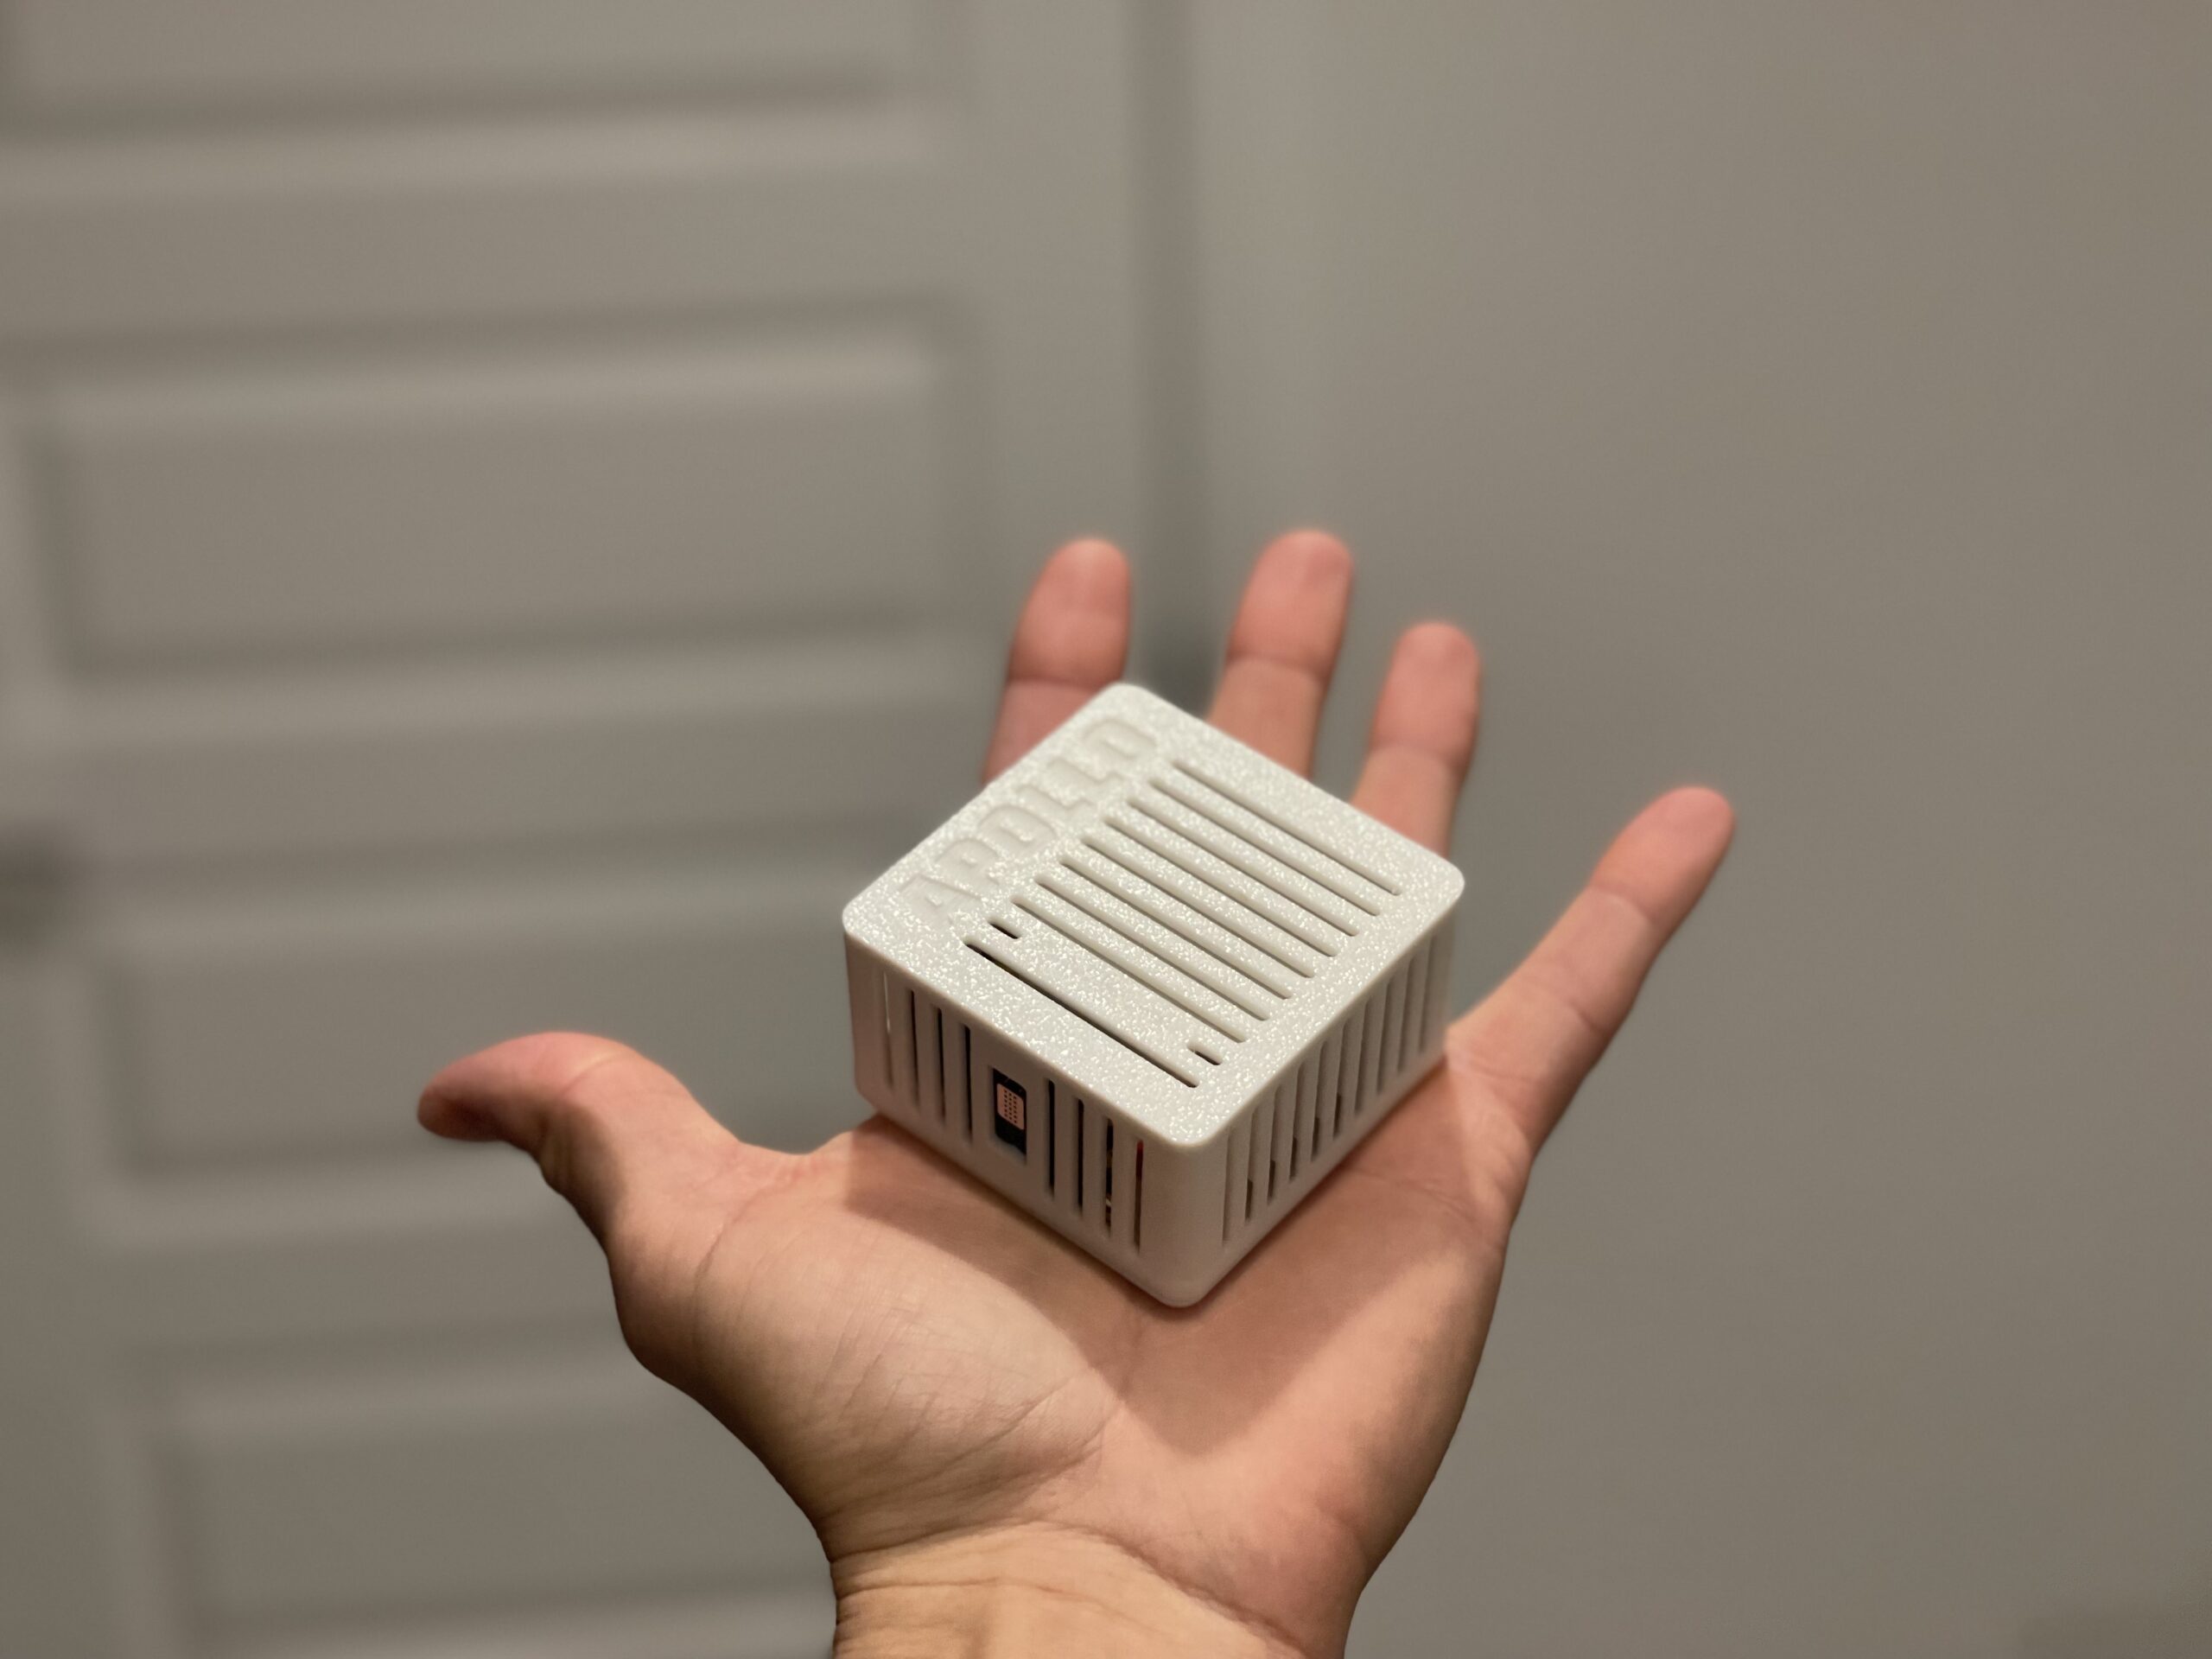
My First Experience with Home Assistant & Apollo Automation
Introduction
I’ve installed Home Assistant a few times over the years, always with big plans to fully automate my smart home. But life happens, and I never quite got around to actually using it. That changed when I decided I needed an air quality sensor. I wanted something that could give me historical data, integrate with Home Assistant, and provide frequent updates. Enter the Air-1 by Apollo Automation—the perfect excuse to finally get Home Assistant up and running.
For anyone looking for specific product details, check out the official page: Apollo Automation Air-1.
This is my first Home Assistant device and my first Apollo Automation product. Let’s see how that worked out!
Why I Chose the Air-1
I researched a lot of air quality monitors before settling on the Air-1. Here’s what led me to this choice:
- Open-source compatibility – I wanted something flexible, not locked into a proprietary ecosystem.
- Home Assistant integration – The goal was full automation and data logging.
- Frequent readings – Some sensors update too slowly to be useful.
- Long sensor lifespan – The Air-1 claims up to 10 years of continuous use, compared to the 3 years of most PM sensors.
Other Sensors I Considered
- IKEA Vindstyrka – Cheap, has a screen, but only measures a few things and uses lower-quality sensors.
- AirGradient Indoor – Has a screen and an indicator, works out of the box, but less powerful.
- IQAir AirVisual Pro – Great visual display, owned one in the past, but has fewer sensors than the Air-1.
Ultimately, the Air-1 stood out because of its sensor variety and long-term reliability, even though it doesn’t have a built-in screen or indicator.
What It Measures
The Air-1 tracks a lot of air quality metrics:
- Particulate Matter (PM): PM1, PM2.5, PM4, PM10
- Air Quality Indicators: VOC (Volatile Organic Compounds), NOx (Nitrogen Oxides)
- Environmental Conditions: Temperature, Humidity (requires an offset adjustment due to heat buildup)
Optional Add-Ons:
- Gas Detection: Carbon Monoxide (CO), Ethanol (C2H5OH), Hydrogen (H2), Nitrogen Dioxide (NO2), Ammonia (NH3), Methane (CH4) (detects presence rather than exact PPM values)
- Carbon Dioxide (CO2) Monitoring (SCD40)
Unboxing & First Impressions
- Packaging: Clean, minimal.
- Shipping: Took longer than expected.
- Extras: I ordered the additional gas sensors, which came pre-installed. I also opted for the GPIO Header and Dupont Cables, which came separately along with an alternate housing cover for GPIO access.
Setting Up the Air-1 with Home Assistant (AKA My GPIO Nightmare)
BIG WARNING NOTICE: If you ordered the GPIO Header, STOP. Do not install it first. Learn from my mistake.
Here’s what happened:
- Excited to start, I installed the GPIO Header before even powering up the device.
- Turns out, the GPIO header can be installed bidirectionally, but only works in one direction. Guess who installed it backward?
- This meant:
- The LEDs didn’t turn on (I didn’t even know it had LEDs!).
- Parts of the device didn’t function, even though WiFi partially worked.
- Spent hours troubleshooting a nonexistent problem.
- I even flashed the firmware and checked logs, but nothing made sense.
- Finally, I removed the GPIO header, powered it on, and… the LEDs lit up instantly. Facepalm moment.
- At that point, Home Assistant picked it up with zero issues.
Aside from my self-inflicted GPIO disaster, setup was smooth once I had it plugged in correctly. It connected easily, and Home Assistant recognized it instantly.
Testing & Performance
- Accuracy? Seems good, but I don’t have another high-quality monitor to compare it to.
- Update frequency? Frequent enough for meaningful data collection.
- Reliability? So far, solid. No random disconnects.
- Downside? No built-in screen. This makes it great for historical data collection but not ideal for real-time air quality checks (though the LEDs can be enabled for quick visual cues).
Home Assistant Automation Ideas
Here’s what I plan to set up:
- Alerts for gas leaks – Especially in the kitchen.
- Smart dashboards – Home Assistant’s default data views aren’t great, so I’ll work on a custom dashboard inspired by the IQAir Visual Monitor.
- Automated HVAC control – Adjust air purifiers or ventilation based on sensor readings.
- Always-on Display – Considering setting up a dedicated tablet dashboard in the house.
Pros & Cons
Pros:
✅ Highly accurate sensors ✅ Long lifespan (10+ years for PM sensors) ✅ Works great with Home Assistant ✅ Tracks a ton of air quality data
Cons:
❌ No screen for quick real-time checks ❌ Requires manual calibration for temperature readings ❌ My own user errorwith the GPIO header (not the device’s fault, but worth mentioning!)
Final Thoughts & Would I Recommend It?
I’m very happy with the Air-1 overall. If you’re using Home Assistant, this is one of the best air quality sensors you can get. It offers detailed readings, a long lifespan, and integrates seamlessly.
Would I buy another one? Yes—I’d love to put one outside to compare against public air quality data.
Would I recommend it? Yes, with the caveat that it’s best for data-driven users who are okay with not having an out-of-the-box screen display.
For now, my next step is building better dashboards and setting up real-time automations. Stay tuned for updates on that!
